Lagi-lagi koneksi dialup. Gapapa kan? Kali ini beda dari
koneksi dial-up sebelumnya kok. Apanya yang beda?
- Menggunakan Laptop temen :) Totogsp
- Menggunakan Live USB Ubuntu 10.10
- Koneksi CDMA Mobile
- Lokasi di Kamar kost sekitar 1/4-an Jakal Yogya :)
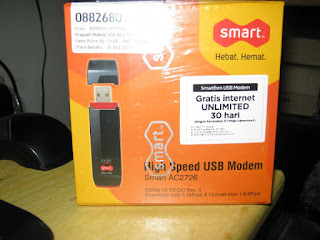 |
| Modem AC2726 |
Duh sempet-sempetnya bawa USB Flashdisk? Hehe.. ceritanya kemarin pulang kerja langsung meluncur jauh ke Yoga. Hari ini (beberapa hari kemarin saat tulisan ini release) singgah di kost-an tapi orang-nya ga ada alias lagi keluar. Konon katanya sih ke markas, ngegame di game station kali yah? Kebetulan ada peninggalan Laptop Dell Inspiron dengan win7 nya + Modem CDMA Smart tipe AC2726.

Dell Inspiron i15R-2646MRB 15.6-Inch Laptop Technical Details
- Intel Core i5-460M, 2.53GHz, Turbo Boost up to 2.80GHz, 3MB Cache
- 6GB RAM; Wireless-N Mini-Card, Dell Wireless 365 Bluetooth Technology
- 640GB Hard Drive; 8x CD/DVD Burner (Dual-Layer DVD+/-R Drive)
- 15.6" High-Definition Display; 1GB ATI Mobility Radeon HD 550v Graphics
- Genuine Windows 7 Home Premium (64-Bit)
Tadi sempet surfing pakai win7, tapi kok rasanya kangen dengan ubuntu :) , trus :
- Saya restart Laptop
- Tancepin USB Flashdisk yang sudah saya install ubuntu 10.10
- Pencet F12, pilih boot dari USB
Setelah masuk ke desktop yang sudah sempurna loadingnya, segera cek usb device dengan lsusb, kebetulan telah kebaca. Tak lama lalu bikin koneksi dialup dari Network Manager yang ada di panel atas.
Step by stepnya, lihat gambar :
- Buka Network Manager, pilih tab Mobile Broadband, Klick Add. Maka akan muncul seperti ini
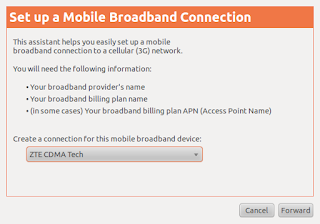 |
| Setup Mobile Broadband Connection |
Kebetulan modem terbaca sebagai ZTE CDMA Tect. Forward
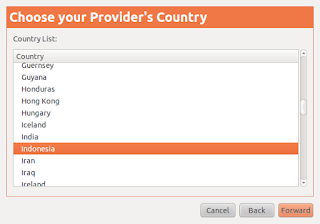 |
| Provider Country |
- Pilih negara, saya pilih Indonesia. Forward
 |
| Choose provider |
Karena provider "smart mobile" belum terdaftar dalam ubuntu ini, maka saya pilih "I can't find my provider and I wish to enter it manually." Isikan provider dengan "smart". Hal ini sekaligus akan kita gunakan untuk connection name nantinya. Forward
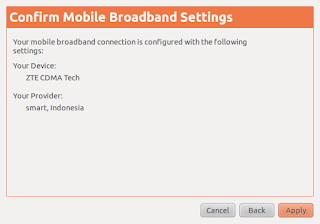 |
| Confirm setting |
- Lalu akan ada konfirmasi untuk mobile setting "smart" yang tadi kita isikan. Apply.
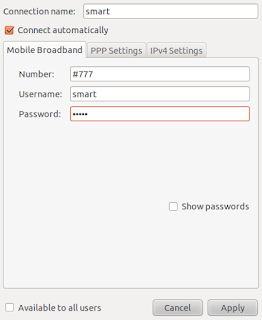 |
| Seting koneksi dialup |
Untuk menyelesaikan seting koneksi dialup smart, maka isikan :
- Number #777 ( yang ini sudah otomatis terisi )
- Username : smart
- Password : smart
- Sebaiknya checklist Connect automatically
- Apply
Setelah koneksi terjalin, jalankan browser.. wah ternyata signal disini full :) dan happy surfing...
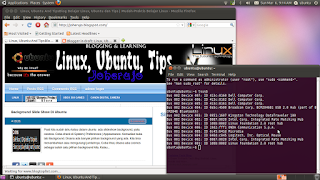 |
| Screenshot - Desktop |


